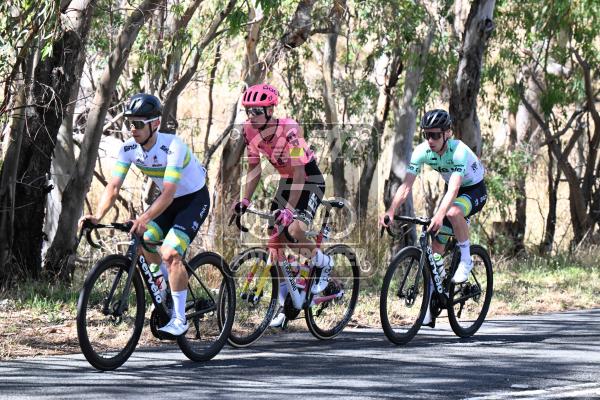
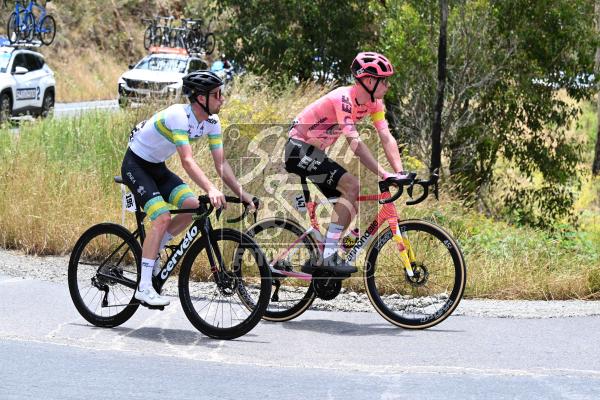
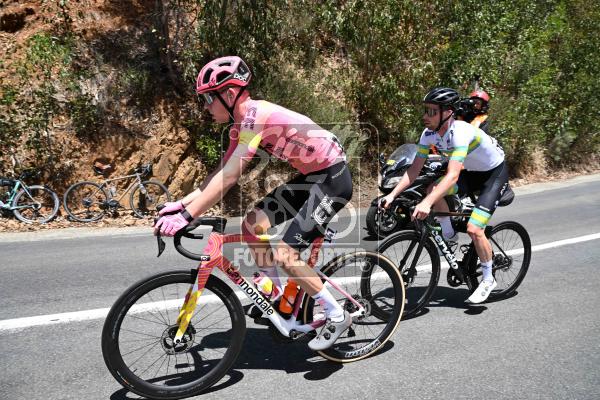
Immagine 1146217 Mount Lofty Tour Down Under Picture shooted 21/01/2024 - Published 21/01/2024
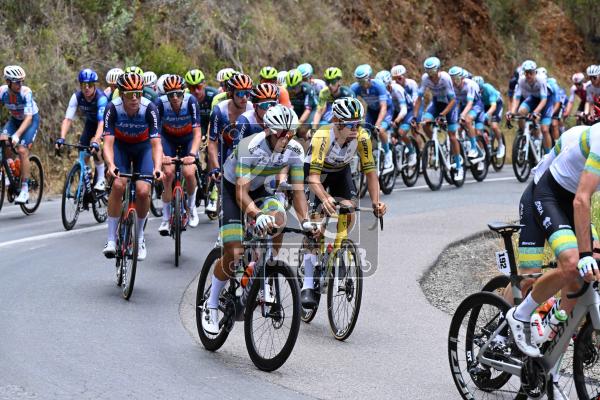
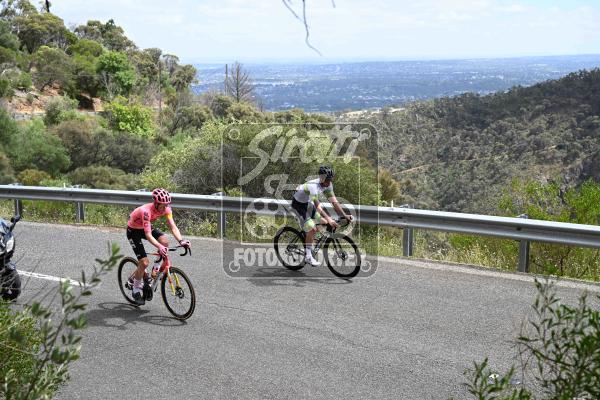
Immagine 1146185 Mount Lofty Tour Down Under Picture shooted 21/01/2024 - Published 21/01/2024
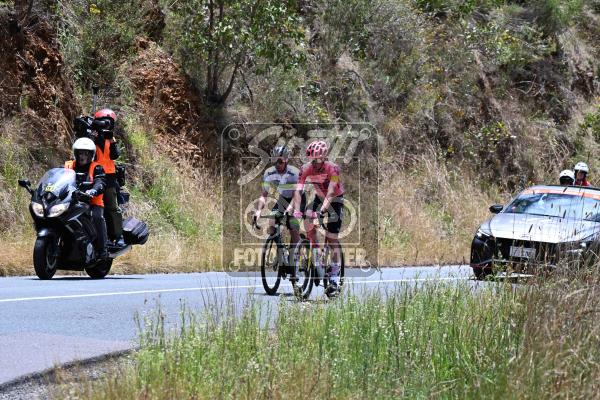
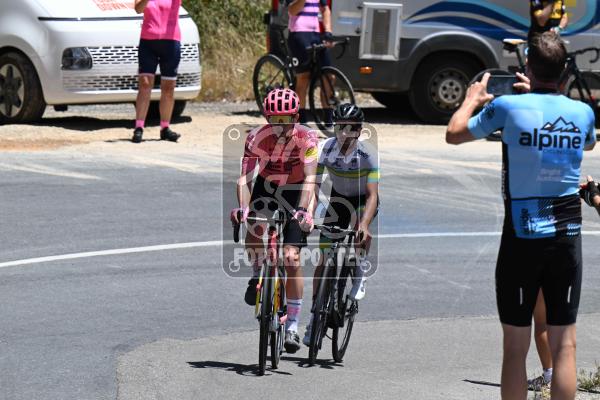
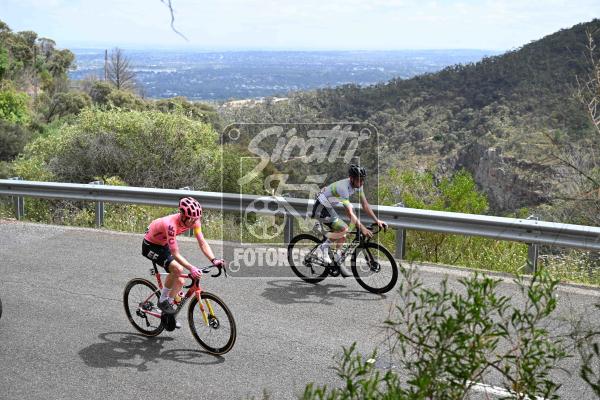
Immagine 1146184 Mount Lofty Tour Down Under Picture shooted 21/01/2024 - Published 21/01/2024
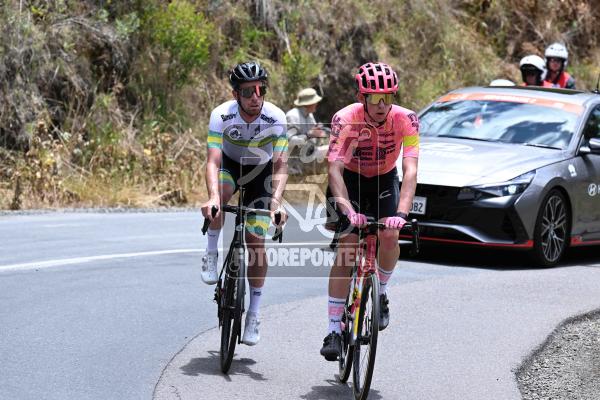
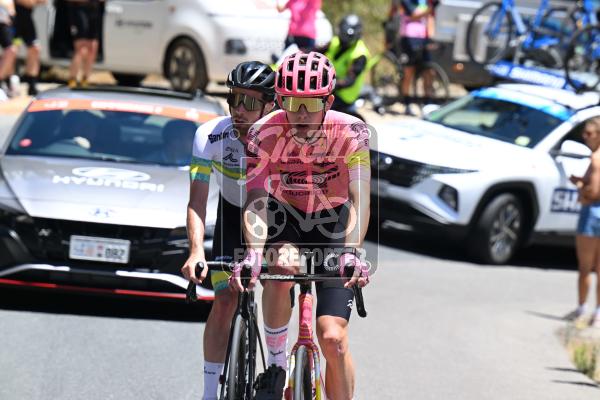
Immagine 1146183 Mount Lofty Tour Down Under Picture shooted 21/01/2024 - Published 21/01/2024
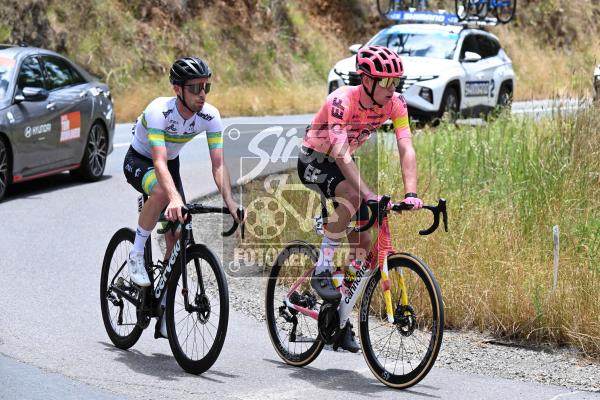
Immagine 1146182 Mount Lofty Tour Down Under Picture shooted 21/01/2024 - Published 21/01/2024
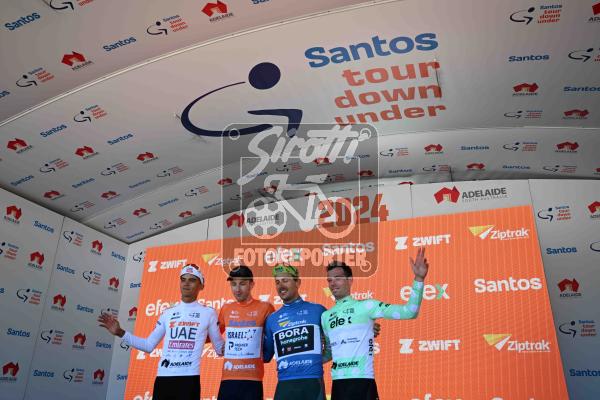
Immagine 1146169 Mount Lofty Tour Down Under Picture shooted 21/01/2024 - Published 21/01/2024
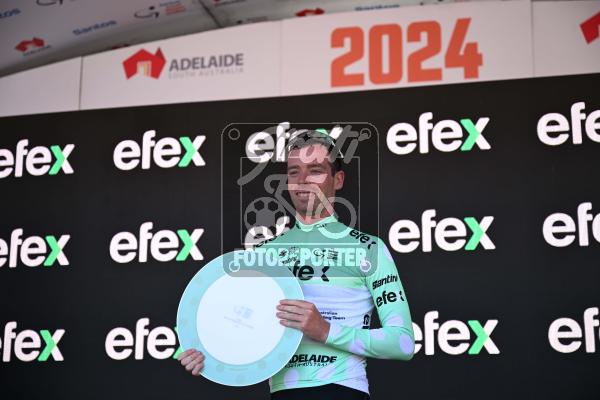
Immagine 1146168 Mount Lofty Tour Down Under Picture shooted 21/01/2024 - Published 21/01/2024
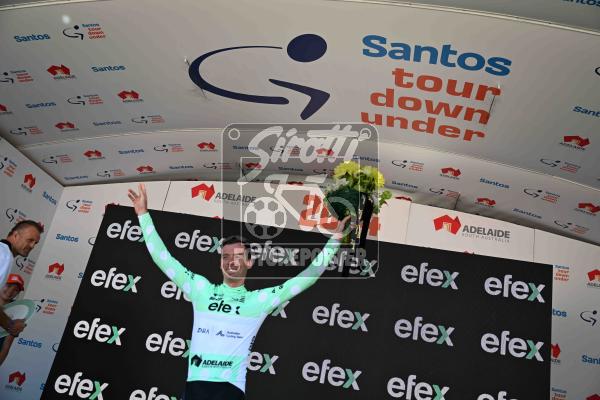
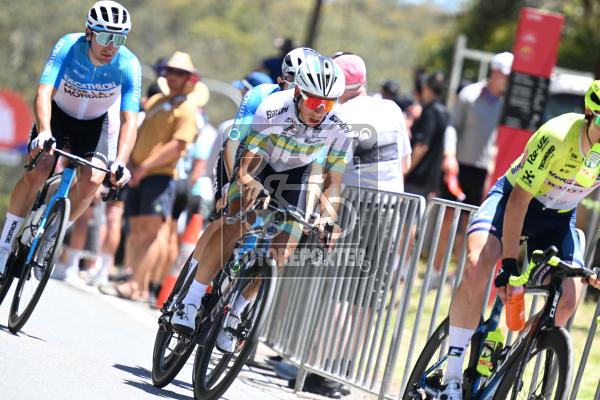
Immagine 1146167 Mount Lofty Tour Down Under Picture shooted 21/01/2024 - Published 21/01/2024
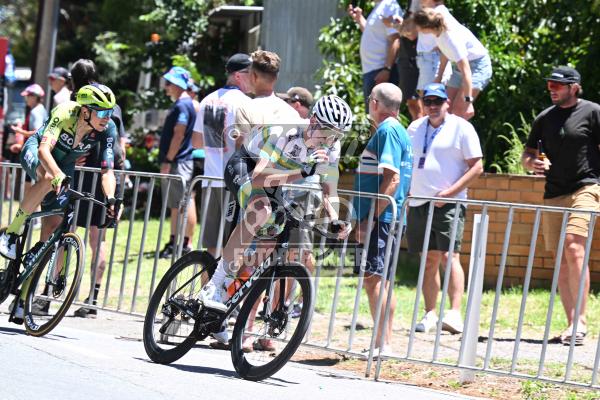
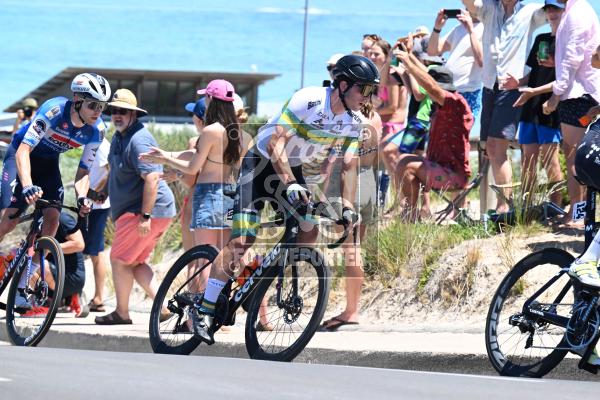
Immagine 1146081 Willunga Hill Tour Down Under Picture shooted 20/01/2024 - Published 20/01/2024
Immagine 1146070 Willunga Hill Tour Down Under Picture shooted 20/01/2024 - Published 20/01/2024
Immagine 1146065 Willunga Hill Tour Down Under Picture shooted 20/01/2024 - Published 20/01/2024
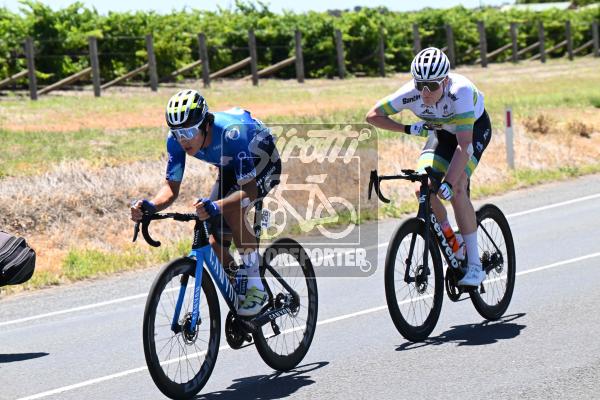
Immagine 1146022 Aldinga Beach Tour Down Under Picture shooted 20/01/2024 - Published 20/01/2024
Immagine 1145998 Willunga Hill Tour Down Under Picture shooted 20/01/2024 - Published 20/01/2024
Immagine 1145961 Willunga Hill Tour Down Under Picture shooted 20/01/2024 - Published 20/01/2024
Immagine 1145839 Tour Down Under Picture shooted 19/01/2024 - Published 19/01/2024
Immagine 1145838 Tour Down Under Picture shooted 19/01/2024 - Published 19/01/2024
Immagine 1145837 Tour Down Under Picture shooted 19/01/2024 - Published 19/01/2024
Immagine 1145836 Tour Down Under Picture shooted 19/01/2024 - Published 19/01/2024
Immagine 1145828 Tour Down Under Picture shooted 19/01/2024 - Published 19/01/2024
Immagine 1145803 Port Elliot Tour Down Under Picture shooted 19/01/2024 - Published 19/01/2024
Immagine 1145788 Port Elliot Tour Down Under Picture shooted 19/01/2024 - Published 19/01/2024
Immagine 1145787 Port Elliot Tour Down Under Picture shooted 19/01/2024 - Published 19/01/2024
Immagine 1145786 Port Elliot Tour Down Under Picture shooted 19/01/2024 - Published 19/01/2024
Immagine 1145708 Campbelltown Tour Down Under Picture shooted 18/01/2024 - Published 18/01/2024
Immagine 1145690 Campbelltown Tour Down Under Picture shooted 18/01/2024 - Published 18/01/2024
Immagine 1145689 Campbelltown Tour Down Under Picture shooted 18/01/2024 - Published 18/01/2024
Immagine 1145688 Campbelltown Tour Down Under Picture shooted 18/01/2024 - Published 18/01/2024
Immagine 1145659 Tour Down Under Picture shooted 18/01/2024 - Published 18/01/2024
Immagine 1145658 Tour Down Under Picture shooted 18/01/2024 - Published 18/01/2024
Immagine 1145657 Tour Down Under Picture shooted 18/01/2024 - Published 18/01/2024
Immagine 1145655 Tour Down Under Picture shooted 18/01/2024 - Published 18/01/2024
Immagine 1145647 Tour Down Under Picture shooted 18/01/2024 - Published 18/01/2024
Immagine 1145646 Tour Down Under Picture shooted 18/01/2024 - Published 18/01/2024
Immagine 1145645 Tour Down Under Picture shooted 18/01/2024 - Published 18/01/2024
Immagine 1145523 Lobethal Tour Down Under Picture shooted 17/01/2024 - Published 17/01/2024
Immagine 1145522 Lobethal Tour Down Under Picture shooted 17/01/2024 - Published 17/01/2024
Immagine 1145520 Tour Down Under Picture shooted 17/01/2024 - Published 17/01/2024
Immagine 1145519 Tour Down Under Picture shooted 17/01/2024 - Published 17/01/2024
Immagine 1145518 Tour Down Under Picture shooted 17/01/2024 - Published 17/01/2024
Immagine 1145517 Tour Down Under Picture shooted 17/01/2024 - Published 17/01/2024
Immagine 1145516 Tour Down Under Picture shooted 17/01/2024 - Published 17/01/2024
Immagine 1145512 Tour Down Under Picture shooted 17/01/2024 - Published 17/01/2024
Immagine 1145511 Tour Down Under Picture shooted 17/01/2024 - Published 17/01/2024
Immagine 1145494 Tour Down Under Picture shooted 17/01/2024 - Published 17/01/2024
Immagine 1145493 Tour Down Under Picture shooted 17/01/2024 - Published 17/01/2024
Immagine 1145456 Tour Down Under Picture shooted 17/01/2024 - Published 17/01/2024
Immagine 1145455 Tour Down Under Picture shooted 17/01/2024 - Published 17/01/2024
Immagine 1145424 Lobethal Tour Down Under Picture shooted 17/01/2024 - Published 17/01/2024
Immagine 1145423 Lobethal Tour Down Under Picture shooted 17/01/2024 - Published 17/01/2024
Immagine 1145397 Tour Down Under Picture shooted 17/01/2024 - Published 17/01/2024
Immagine 1145396 Tour Down Under Picture shooted 17/01/2024 - Published 17/01/2024
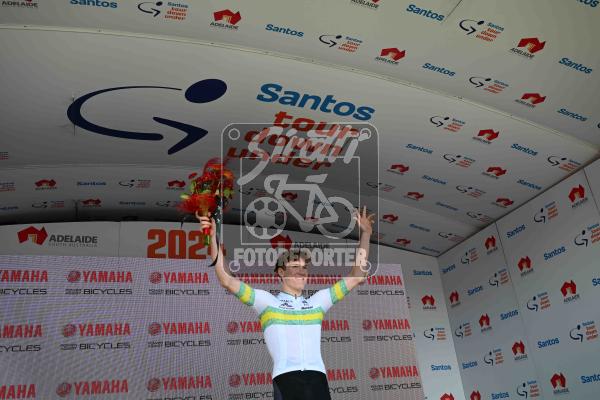
Immagine 1144877 Adelaide Down Under Classic Picture shooted 13/01/2024 - Published 13/01/2024
Immagine 1144774 Adelaide Down Under Classic Picture shooted 13/01/2024 - Published 13/01/2024
Immagine 1144710 Adelaide Down Under Classic Picture shooted 13/01/2024 - Published 13/01/2024
Immagine 1144702 Adelaide Down Under Classic Picture shooted 13/01/2024 - Published 13/01/2024
Immagine 1144697 Adelaide Down Under Classic Picture shooted 13/01/2024 - Published 13/01/2024
Immagine 1144675 Adelaide Down Under Classic Picture shooted 13/01/2024 - Published 13/01/2024
Immagine 1144663 Adelaide Down Under Classic Picture shooted 13/01/2024 - Published 13/01/2024
Immagine 1144481 Adelaide Picture shooted 12/01/2024 - Published 12/01/2024
Immagine 1144480 Adelaide Picture shooted 12/01/2024 - Published 12/01/2024
Immagine 1144401 Adelaide Picture shooted 12/01/2024 - Published 12/01/2024
Immagine 1144400 Adelaide Picture shooted 12/01/2024 - Published 12/01/2024
Immagine 1144325 Adelaide Picture shooted 12/01/2024 - Published 12/01/2024
Immagine 1144324 Adelaide Picture shooted 12/01/2024 - Published 12/01/2024
Immagine 1144323 Adelaide Picture shooted 12/01/2024 - Published 12/01/2024
Immagine 1144322 Adelaide Picture shooted 12/01/2024 - Published 12/01/2024
Immagine 1144319 Adelaide Picture shooted 12/01/2024 - Published 12/01/2024
Immagine 1144269 Adelaide Picture shooted 12/01/2024 - Published 12/01/2024
Immagine 1144268 Adelaide Picture shooted 12/01/2024 - Published 12/01/2024
Immagine 1144267 Adelaide Picture shooted 12/01/2024 - Published 12/01/2024