Le nouveau moteur de recherche Sirotti.it vous permet de trouver, dans quelques instants, l'image souhaitée. Le formulaire de recherche vous permet d'effectuer une recherche libre, recherche avancée avec la sélection et de recherche à travers le TAG de tendon. Ces modes peuvent être utilisés simultanément pour obtenir des résultats rapides raffinés. Pour obtenir un peu plus nombreux résultats utilisent moins de paramètres de recherche. Si vous voulez rechercher d'autres coureurs images, des équipes ou des caractères dans la même image, vous pouvez utiliser une recherche de ce type: "Cipollini AND Pantani"
Immagine 792926 Willunga Hill Tour Down Under Photo prise 20/01/2019 - Publié 20/01/2019
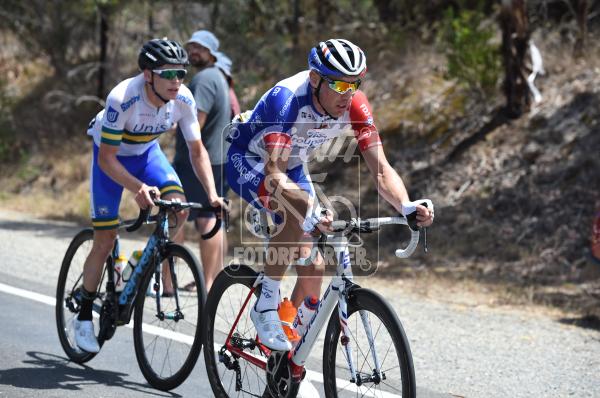
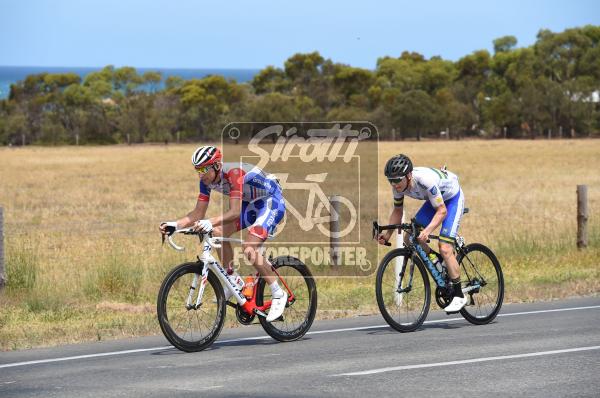
Immagine 792911 Willunga Hill Tour Down Under Photo prise 20/01/2019 - Publié 20/01/2019
Immagine 792910 Willunga Hill Tour Down Under Photo prise 20/01/2019 - Publié 20/01/2019
Immagine 792909 Willunga Hill Tour Down Under Photo prise 20/01/2019 - Publié 20/01/2019
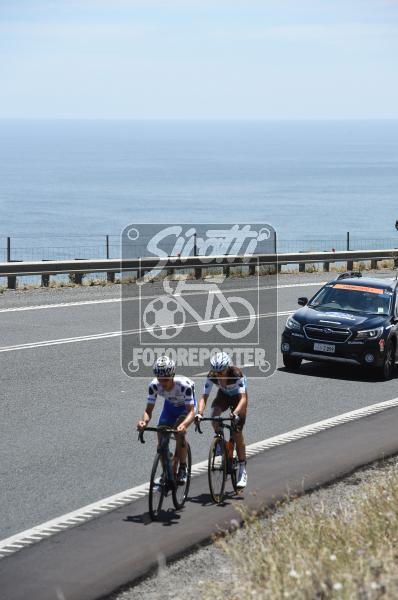
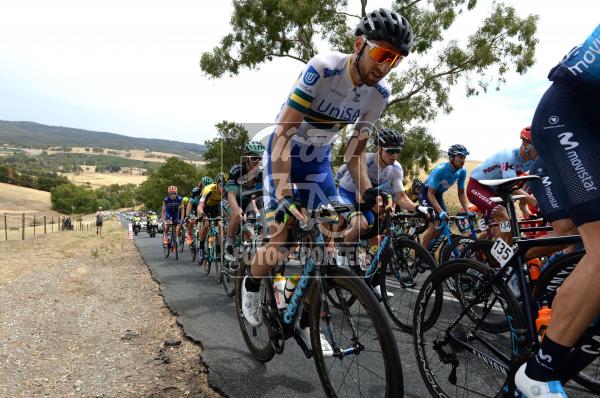
Immagine 792905 Willunga Hill Tour Down Under Photo prise 20/01/2019 - Publié 20/01/2019
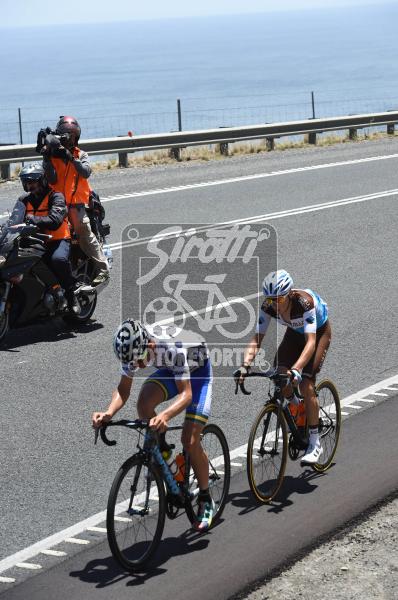
Immagine 792904 Willunga Hill Tour Down Under Photo prise 20/01/2019 - Publié 20/01/2019
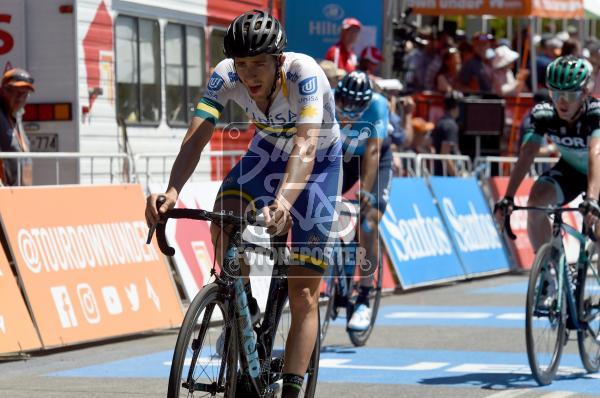
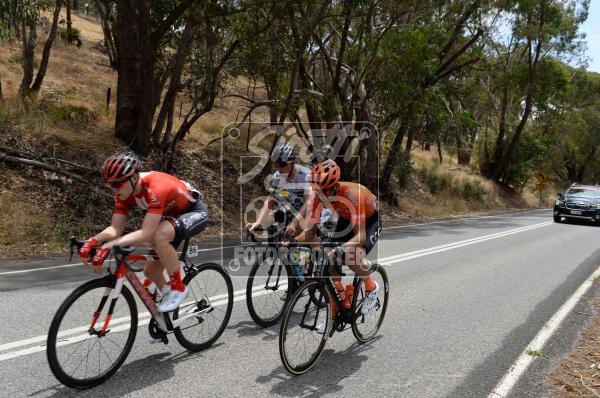
Immagine 792891 Willunga Hill Tour Down Under Photo prise 20/01/2019 - Publié 20/01/2019
Immagine 792837 Willunga Hill Tour Down Under Photo prise 20/01/2019 - Publié 20/01/2019
Immagine 792755 Aldinga Beach Tour Down Under Photo prise 20/01/2019 - Publié 20/01/2019
Immagine 792718 Willunga Tour Down Under Photo prise 20/01/2019 - Publié 20/01/2019
Immagine 792517 Strathalbyn Tour Down Under Photo prise 19/01/2019 - Publié 19/01/2019
Immagine 792516 Strathalbyn Tour Down Under Photo prise 19/01/2019 - Publié 19/01/2019
Immagine 792468 Sellicks Hill Tour Down Under Photo prise 19/01/2019 - Publié 19/01/2019
Immagine 792467 Sellicks Hill Tour Down Under Photo prise 19/01/2019 - Publié 19/01/2019
Immagine 792393 Tour Down Under Photo prise 19/01/2019 - Publié 19/01/2019
Immagine 792364 Tour Down Under Photo prise 19/01/2019 - Publié 19/01/2019
Immagine 792363 Tour Down Under Photo prise 19/01/2019 - Publié 19/01/2019
Immagine 792362 Tour Down Under Photo prise 19/01/2019 - Publié 19/01/2019
Immagine 792357 Tour Down Under Photo prise 19/01/2019 - Publié 19/01/2019
Immagine 792356 Tour Down Under Photo prise 19/01/2019 - Publié 19/01/2019
Immagine 792252 Campbelltown Tour Down Under Photo prise 18/01/2019 - Publié 18/01/2019
Immagine 792251 Campbelltown Tour Down Under Photo prise 18/01/2019 - Publié 18/01/2019
Immagine 792197 Tour Down Under Photo prise 18/01/2019 - Publié 18/01/2019
Immagine 792196 Tour Down Under Photo prise 18/01/2019 - Publié 18/01/2019
Immagine 792192 Tour Down Under Photo prise 18/01/2019 - Publié 18/01/2019
Immagine 791965 Fox Creek Tour Down Under Photo prise 17/01/2019 - Publié 17/01/2019
Immagine 791964 Fox Creek Tour Down Under Photo prise 17/01/2019 - Publié 17/01/2019
Immagine 791963 Fox Creek Tour Down Under Photo prise 17/01/2019 - Publié 17/01/2019
Immagine 791958 Fox Creek Tour Down Under Photo prise 17/01/2019 - Publié 17/01/2019
Immagine 791940 Fox Creek Tour Down Under Photo prise 17/01/2019 - Publié 17/01/2019
Immagine 791914 Uraidla Tour Down Under Photo prise 17/01/2019 - Publié 17/01/2019
Immagine 791913 Uraidla Tour Down Under Photo prise 17/01/2019 - Publié 17/01/2019
Immagine 791841 Tour Down Under Photo prise 17/01/2019 - Publié 17/01/2019
Immagine 791814 Tour Down Under Photo prise 17/01/2019 - Publié 17/01/2019
Immagine 791751 Lobethal Tour Down Under Photo prise 17/01/2019 - Publié 17/01/2019
Immagine 791750 Lobethal Tour Down Under Photo prise 17/01/2019 - Publié 17/01/2019
Immagine 791353 Tour Down Under Photo prise 16/01/2019 - Publié 16/01/2019
Immagine 791352 Tour Down Under Photo prise 16/01/2019 - Publié 16/01/2019
Immagine 791335 Checker Hill Tour Down Under Photo prise 16/01/2019 - Publié 16/01/2019
Immagine 791334 Checker Hill Tour Down Under Photo prise 16/01/2019 - Publié 16/01/2019
Immagine 791331 Checker Hill Tour Down Under Photo prise 16/01/2019 - Publié 16/01/2019
Immagine 791287 Angaston Tour Down Under Photo prise 16/01/2019 - Publié 16/01/2019
Immagine 791286 Angaston Tour Down Under Photo prise 16/01/2019 - Publié 16/01/2019
Immagine 791257 Checker Hill Tour Down Under Photo prise 16/01/2019 - Publié 16/01/2019
Immagine 790657 Port Adelaide Tour Down Under Photo prise 15/01/2019 - Publié 15/01/2019
Immagine 790656 Port Adelaide Tour Down Under Photo prise 15/01/2019 - Publié 15/01/2019
Immagine 790627 Tour Down Under Photo prise 15/01/2019 - Publié 15/01/2019
Immagine 790615 Tour Down Under Photo prise 15/01/2019 - Publié 15/01/2019
Immagine 790614 Tour Down Under Photo prise 15/01/2019 - Publié 15/01/2019
Immagine 790604 North Adelaide Tour Down Under Photo prise 15/01/2019 - Publié 15/01/2019
Immagine 790584 North Adelaide Tour Down Under Photo prise 15/01/2019 - Publié 15/01/2019
Immagine 790342 Adelaide Down Under Classic Photo prise 13/01/2019 - Publié 13/01/2019
Immagine 790315 Adelaide Down Under Classic Photo prise 13/01/2019 - Publié 13/01/2019
Immagine 790154 Adelaide Photo prise 12/01/2019 - Publié 13/01/2019
Immagine 790153 Adelaide Photo prise 12/01/2019 - Publié 13/01/2019
Immagine 790152 Adelaide Photo prise 12/01/2019 - Publié 13/01/2019
Immagine 790151 Adelaide Photo prise 12/01/2019 - Publié 13/01/2019
Immagine 790150 Adelaide Photo prise 12/01/2019 - Publié 13/01/2019
Immagine 790149 Adelaide Photo prise 12/01/2019 - Publié 13/01/2019
Immagine 790148 Adelaide Photo prise 12/01/2019 - Publié 13/01/2019
Immagine 790079 Adelaide Photo prise 13/01/2019 - Publié 13/01/2019
Immagine 790078 Adelaide Photo prise 13/01/2019 - Publié 13/01/2019
Immagine 790077 Adelaide Photo prise 13/01/2019 - Publié 13/01/2019
Immagine 790076 Adelaide Photo prise 13/01/2019 - Publié 13/01/2019
Immagine 790075 Adelaide Photo prise 13/01/2019 - Publié 13/01/2019
Immagine 790074 Adelaide Photo prise 13/01/2019 - Publié 13/01/2019
Immagine 790073 Adelaide Photo prise 13/01/2019 - Publié 13/01/2019
Immagine 790072 Adelaide Photo prise 13/01/2019 - Publié 13/01/2019
Immagine 789900 Adelaide Photo prise 12/01/2019 - Publié 12/01/2019
Immagine 789898 Adelaide Photo prise 12/01/2019 - Publié 12/01/2019
Immagine 789652 Adelaide Photo prise 12/01/2019 - Publié 12/01/2019
Immagine 789651 Adelaide Photo prise 12/01/2019 - Publié 12/01/2019
Immagine 789650 Adelaide Photo prise 12/01/2019 - Publié 12/01/2019
Immagine 789649 Adelaide Photo prise 12/01/2019 - Publié 12/01/2019